Enabling Microphone Permissions on NovoNote (Desktop and Mobile)
Microphone access is essential for using NovoNote’s features seamlessly. Depending on your device and browser, enabling microphone permissions can vary slightly. This guide provides step-by-step instructions for granting microphone access in popular browsers like Safari and Chrome across desktop (macOS and Windows) and mobile (iOS and Android) platforms.
1. Safari (Desktop on macOS)
1.1 Grant Microphone Access in Safari
Open Safari and go to the website where you want to record audio.
In the top menu bar, click on Safari > Settings… (on older macOS versions, this may appear as Preferences…).
Select the Websites tab at the top of the Settings window.
In the left sidebar, click Microphone.
Find the website in the list on the right.
If it’s set to Deny, change it to Allow.
If it’s not listed, visit the site and Safari will prompt you to allow or deny microphone access.
If Safari still doesn’t detect the microphone, proceed to System Settings (or System Preferences on older macOS versions) to ensure Safari has permission to use the microphone at the OS level (see 1.2).
1.2 Grant Microphone Access in macOS System Settings (if needed)
Click the Apple menu () in the top-left corner.
Select System Settings (or System Preferences).
Go to Privacy & Security > Microphone (on older macOS, it may be Security & Privacy > Privacy tab > Microphone).
In the list of apps, make sure Safari is toggled ON (checked) for microphone access.
If you made changes, you may need to quit and reopen Safari for the changes to take effect.
2. Chrome (Desktop on macOS or Windows)
2.1 Grant Microphone Access in Chrome Site Settings
Open Chrome and navigate to the website you want to use.
Click the lock icon (or “Not secure” icon) on the left side of the address bar.
A small dropdown will appear. Look for Site settings.
In Site settings, under Permissions, find Microphone.
Set it to Allow or Ask (default).
Return to the webpage and refresh. When prompted for microphone access, choose Allow.
2.2 Enable Microphone in macOS System Settings (if on macOS)
If users on macOS still have issues:
Click the Apple menu () > System Settings (or System Preferences).
Go to Privacy & Security > Microphone.
Ensure Google Chrome is toggled ON (checked).
Quit and reopen Chrome for changes to take effect.
2.3 Enable Microphone in Windows Settings (if on Windows)
If users on Windows still have issues:
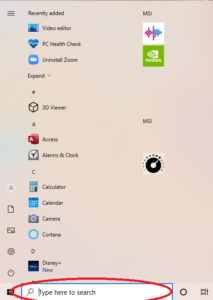
Click on the Start button, then open Settings (gear icon).
Go to Privacy & security > Microphone.
Ensure that Microphone access is turned On.
Make sure that “Allow desktop apps to access your microphone” is also turned On.
Scroll down and confirm Google Chrome is allowed.
Restart Chrome if any changes were made.
3. Safari (Mobile on iOS)
Open the Settings app on your iPhone or iPad.
Scroll down to find Safari and tap on it.
Tap Camera & Microphone Access (on older iOS versions, this may be listed as Microphone).
Make sure it is set to Ask or Allow.
Go back to Safari and visit the website. If prompted, tap Allow to grant microphone permissions.
Note: If you do not see the site prompting you, try tapping the Aa icon in the address bar (on iOS 15+), choose Website Settings, and ensure Microphone is set to Allow.
4. Chrome (Mobile on Android or iOS)
4.1 Chrome on Android
Open Chrome on your Android device and go to the website in question.
Tap the lock icon (or info icon) to the left of the address bar.
A dropdown or small menu will appear; tap Permissions (or the gear/settings icon).
Tap Microphone and set it to Allow.
Return to the website and refresh. If prompted, choose Allow for microphone access.
If microphone access is still blocked:
Go to Settings on your Android device.
Tap Apps (or App Management), then locate Chrome.
Tap Permissions and make sure Microphone is Allowed.
Restart Chrome and try again.
4.2 Chrome on iOS
Chrome on iOS uses Apple’s WebKit engine, which relies on iOS system-level permissions similar to Safari:
Open the Settings app on your iPhone or iPad.
Scroll down and tap Chrome.
Tap Microphone and set to On (or Allow).
Open Chrome and revisit the website. If prompted, tap Allow to grant microphone permissions.
Troubleshooting Tips
Restart Your Browser: After changing permissions, closing and reopening the browser often resolves lingering issues.
Clear Site Data: If permissions get stuck, you may try clearing site data or cookies for that specific site.
Update Your Browser: Make sure you’re running the latest version of Safari or Chrome.
Check Hardware Issues: Confirm your microphone is working (e.g., test in another app).
Quick Reference Summary
Safari Desktop (macOS)
Safari > Settings… > Websites > Microphone > Allow
macOS System Settings > Privacy & Security > Microphone > Enable Safari
Chrome Desktop (Windows & macOS)
Click lock icon in address bar > Site settings > Microphone > Allow
macOS: System Settings > Privacy & Security > Microphone > Enable Chrome
Windows: Settings > Privacy & Security > Microphone > Allow Chrome
Safari Mobile (iOS)
Settings app > Safari > Microphone (or Camera & Microphone) > Allow
Chrome Mobile
Android: In Chrome, lock icon > Permissions > Microphone > Allow
Device Settings > Apps > Chrome > Permissions > Allow Microphone
iOS: Settings app > Chrome > Microphone > On


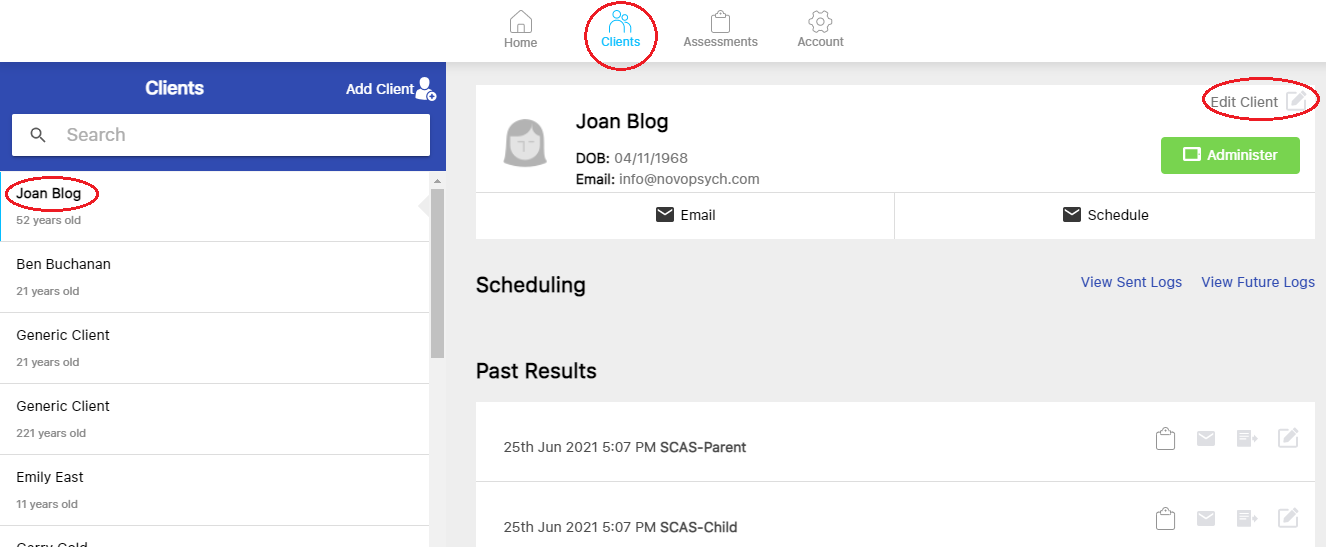
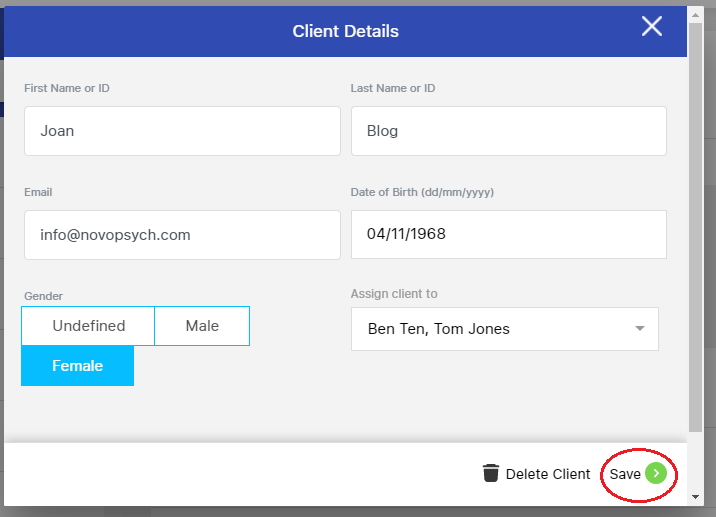





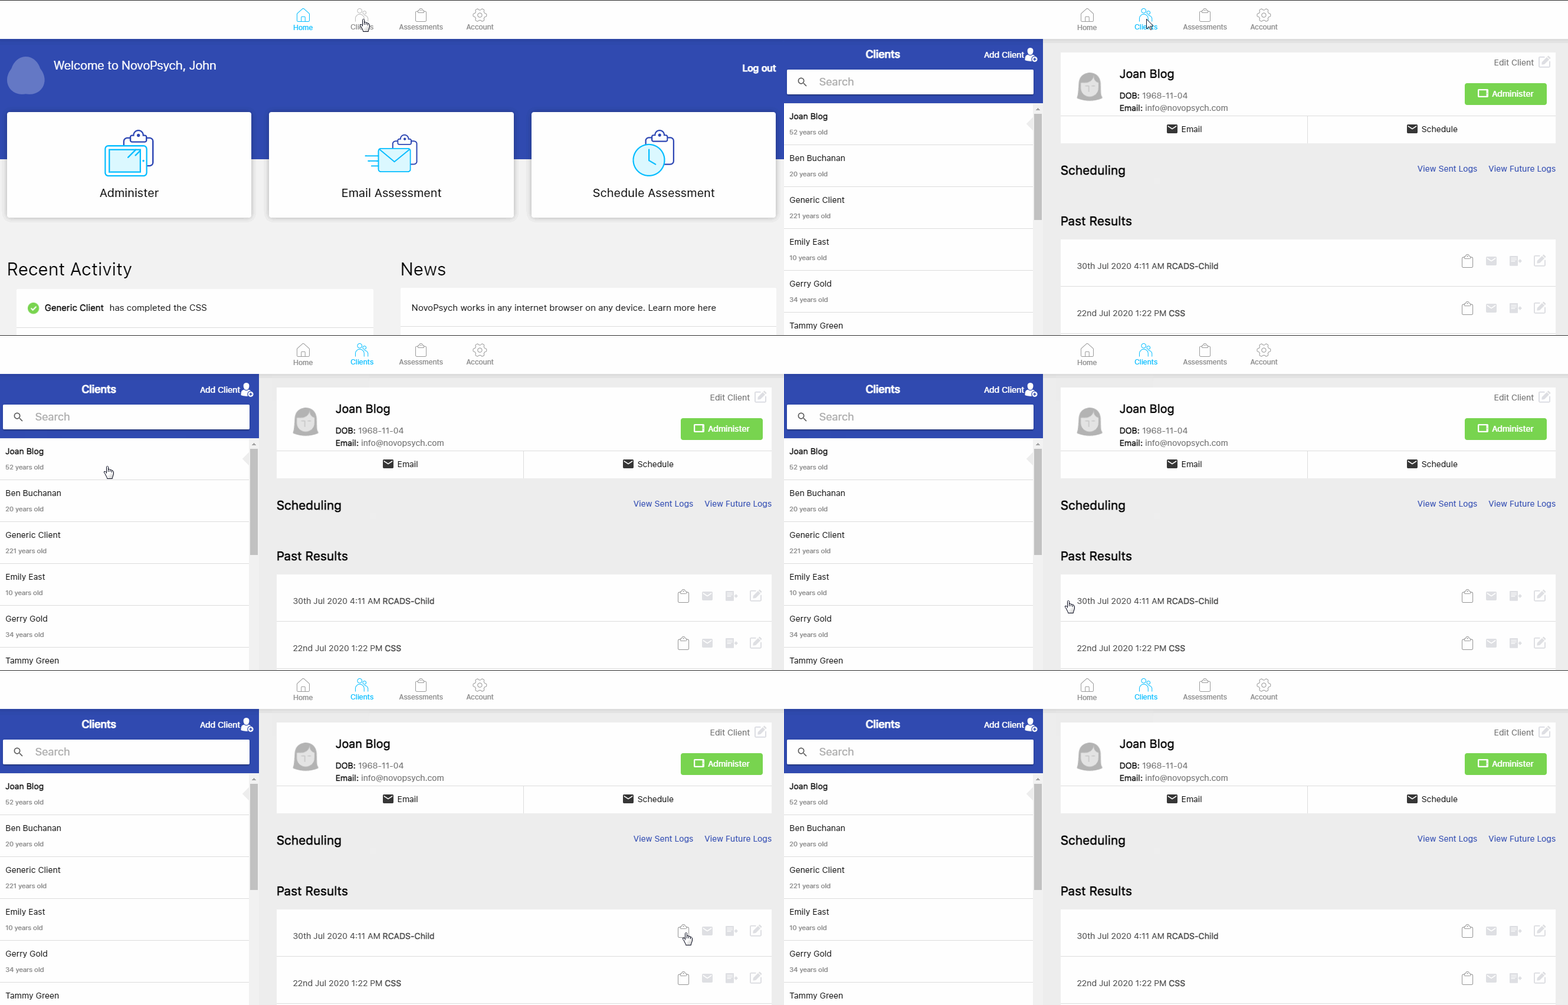




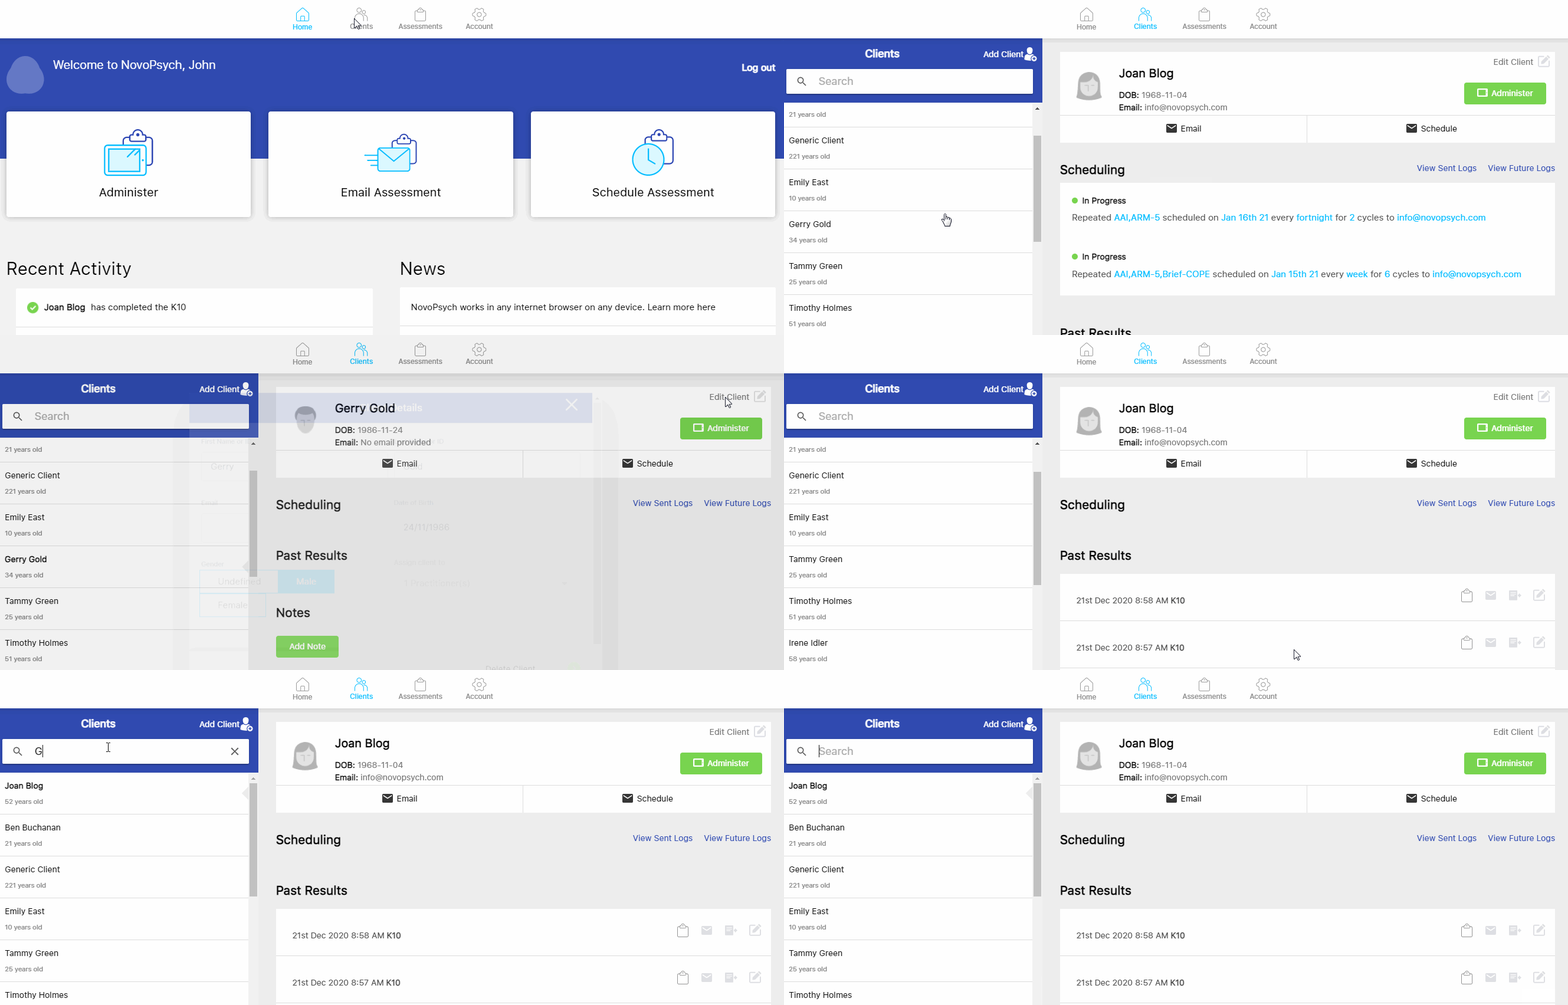
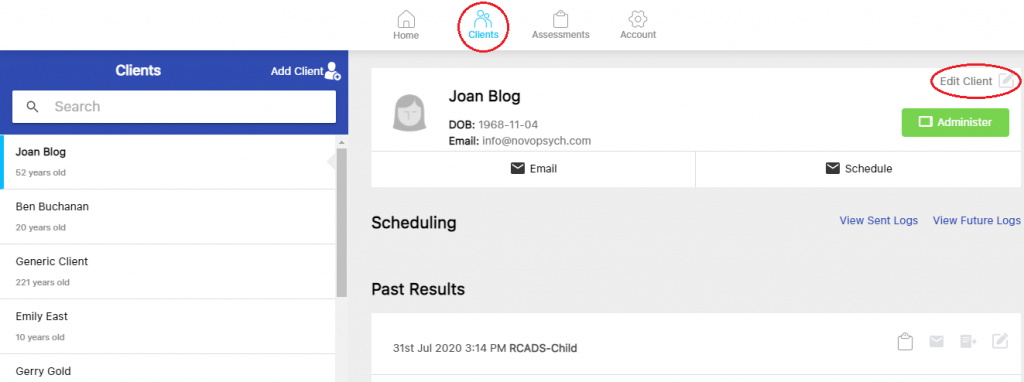
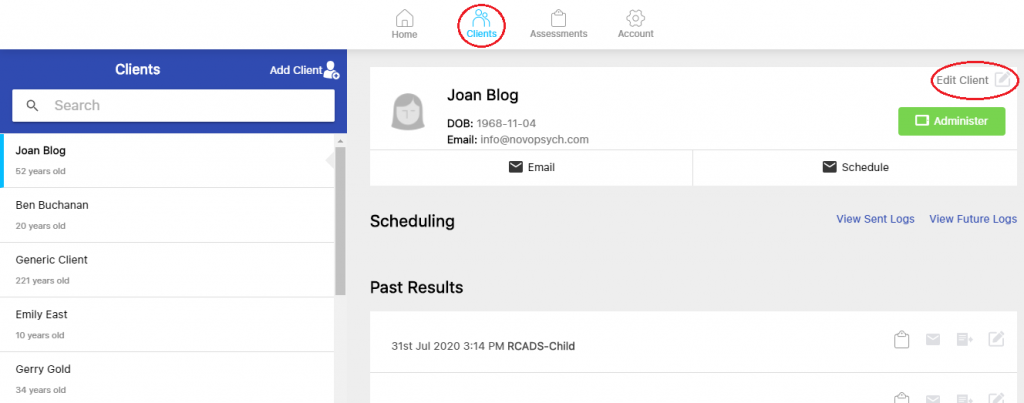
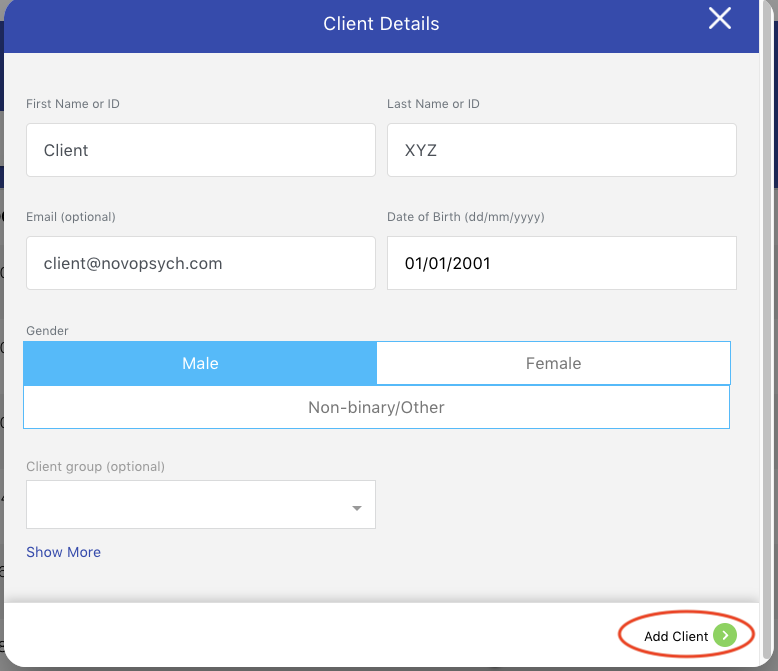
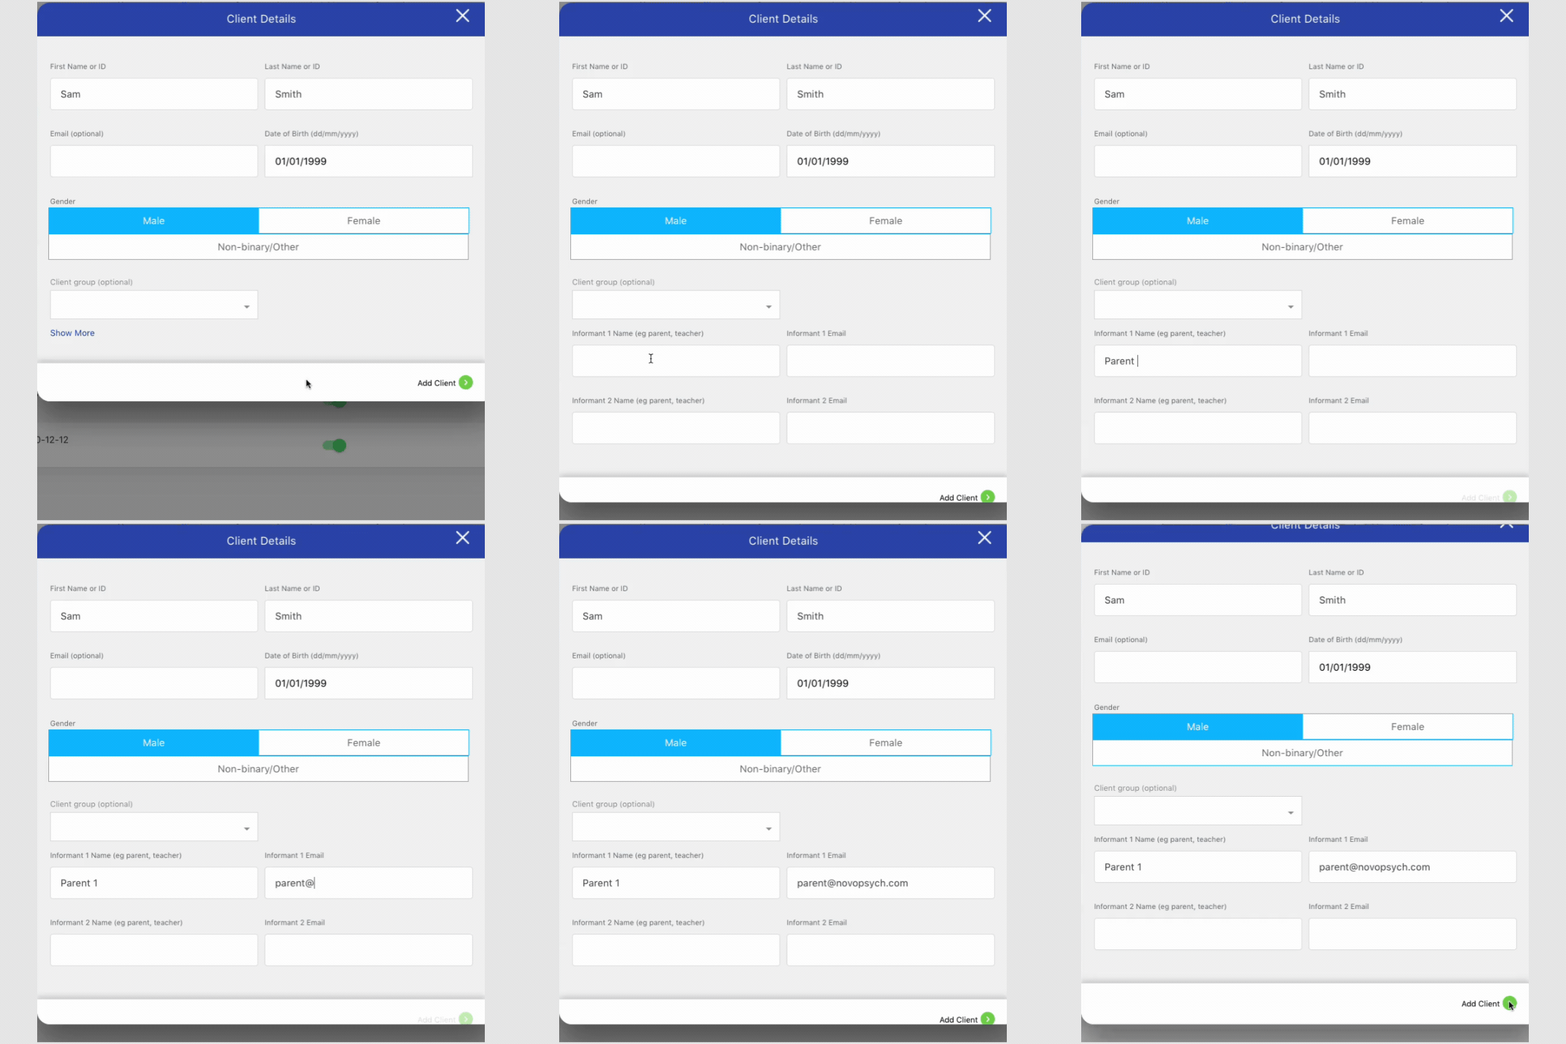
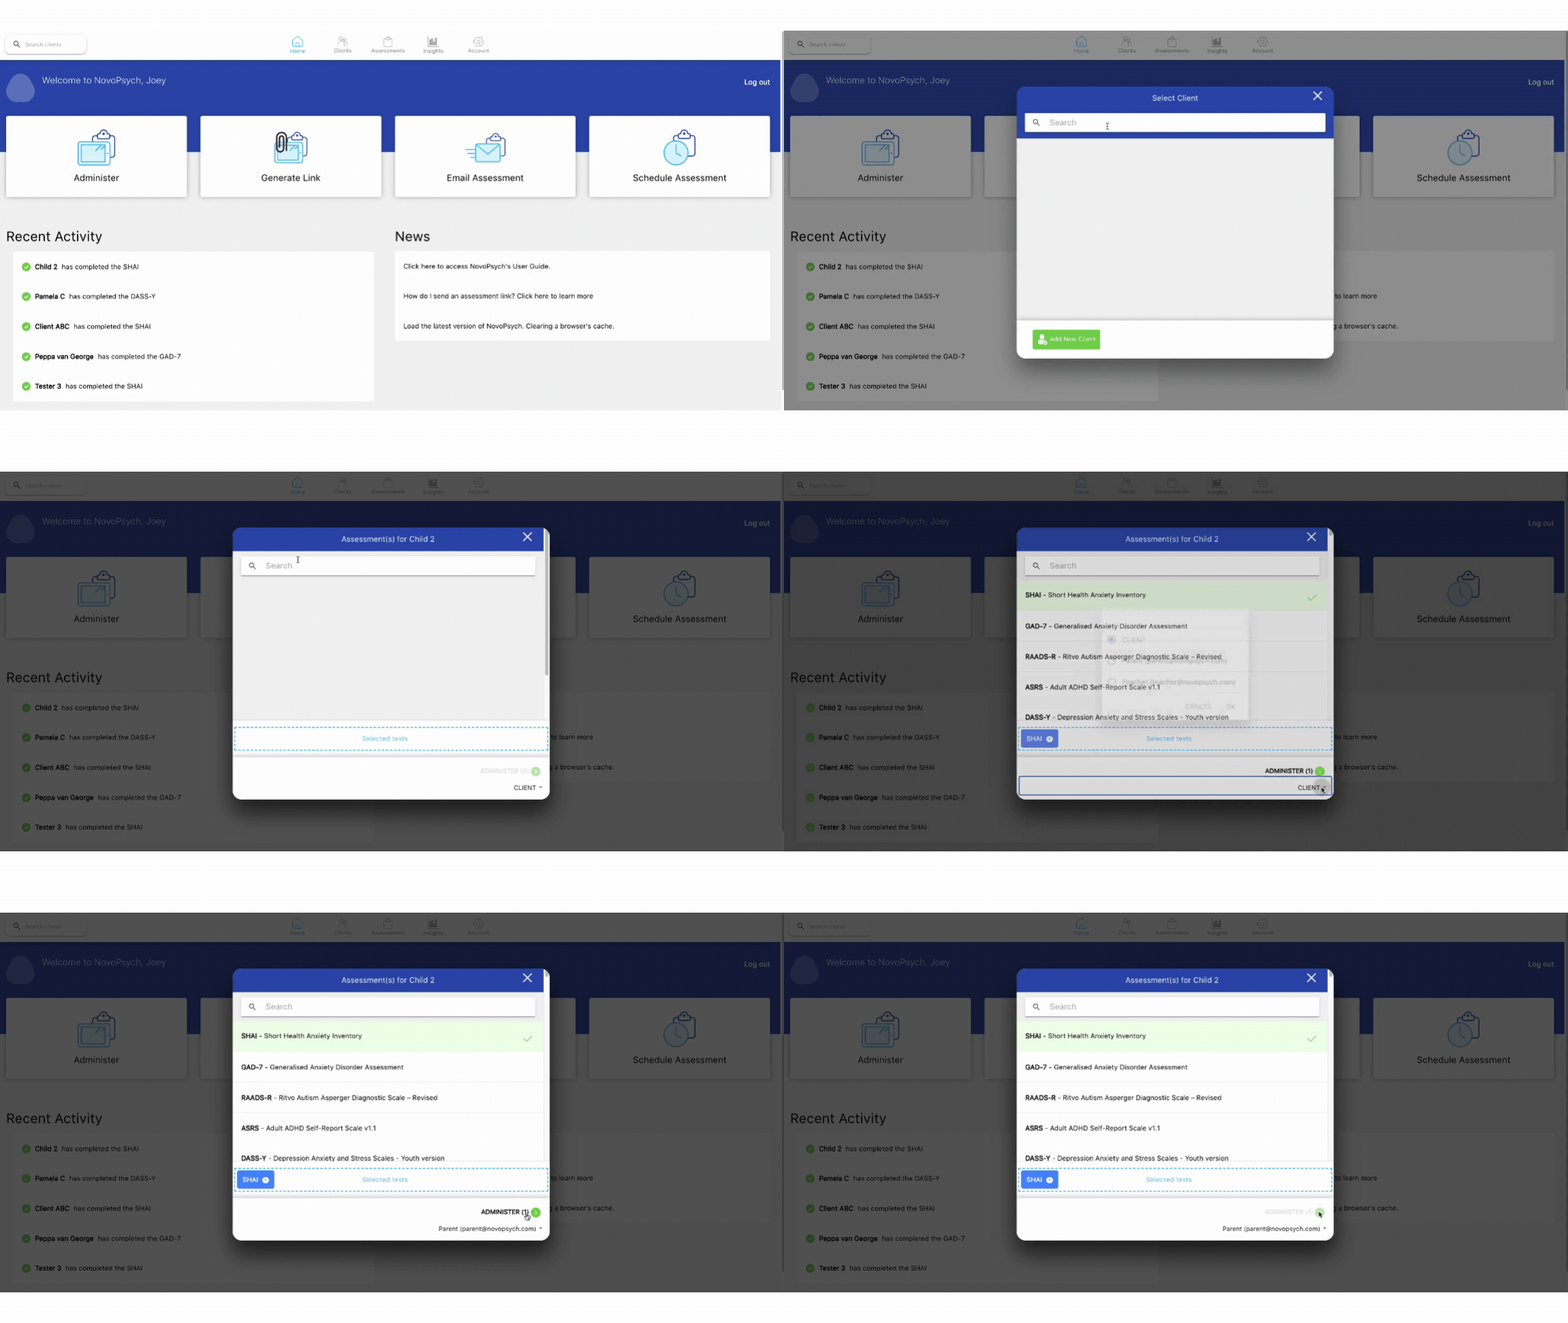
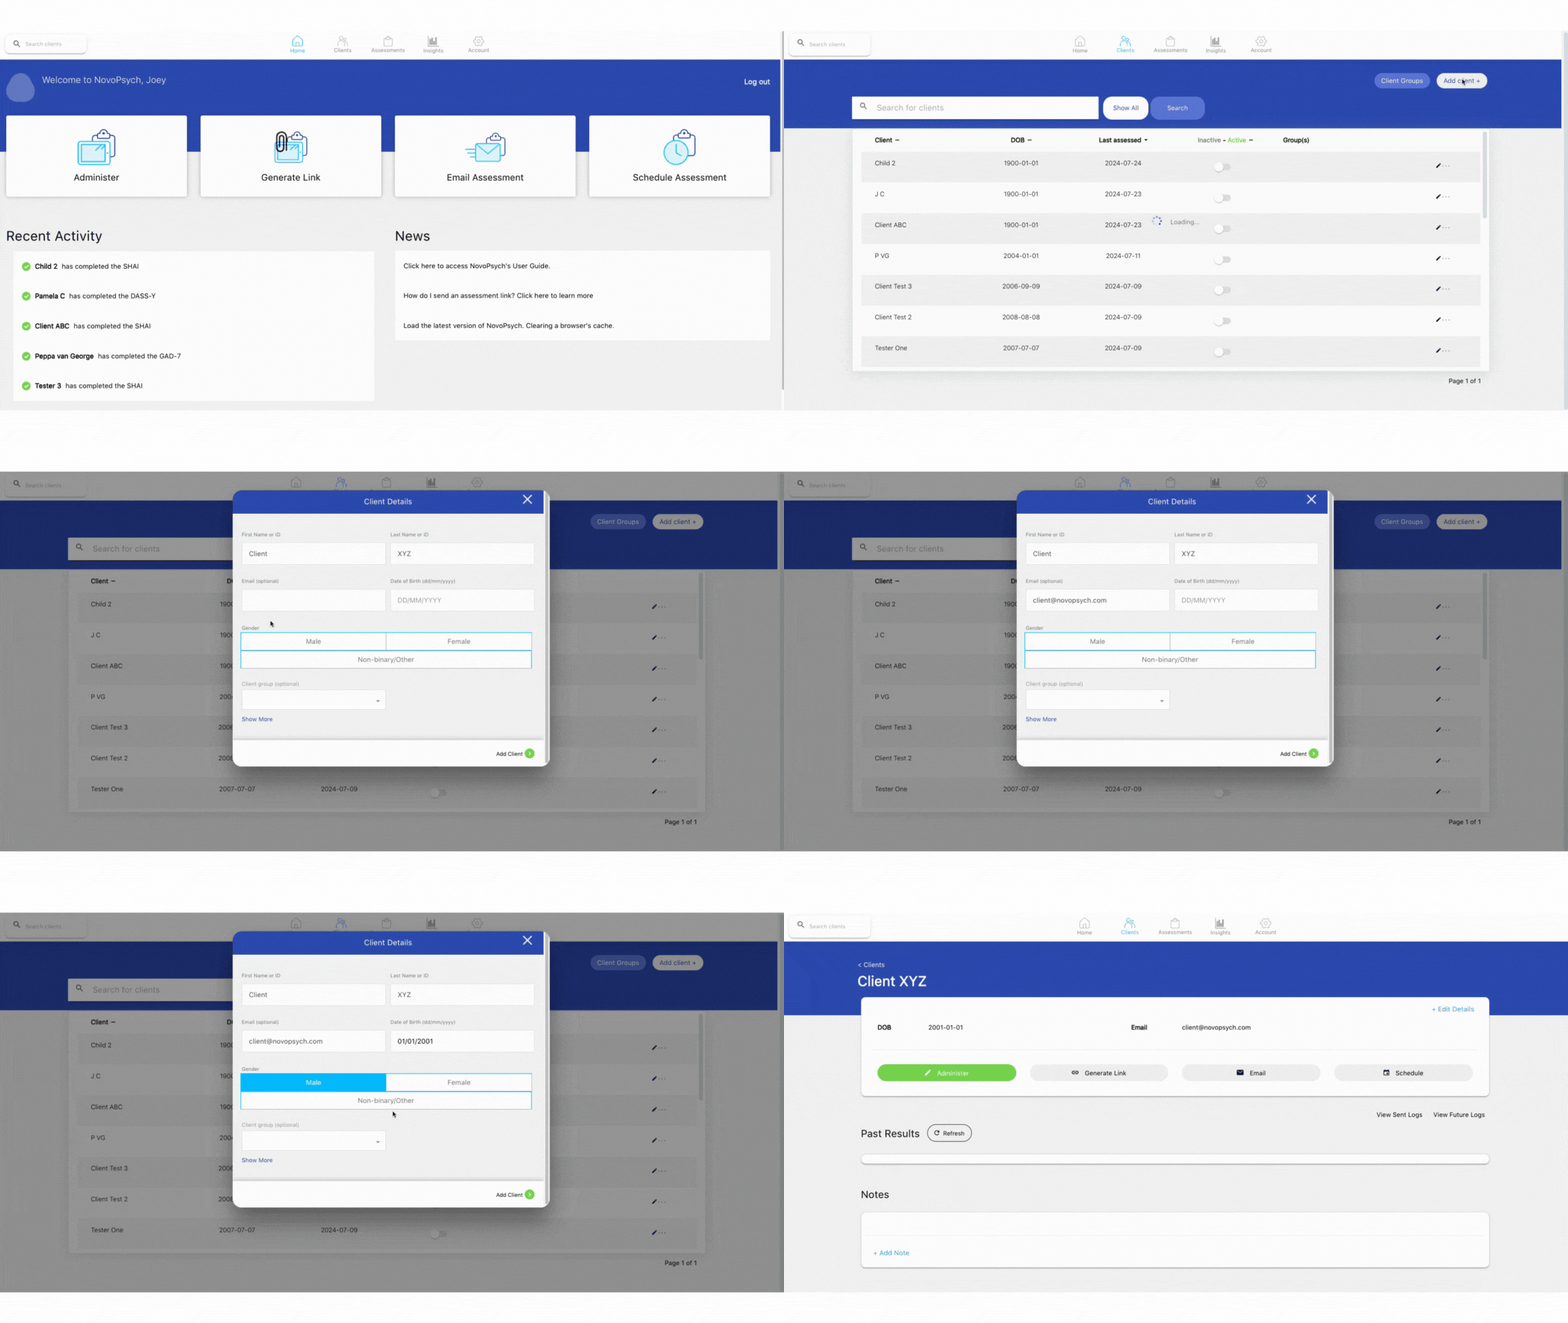 1. Go to “Clients”.
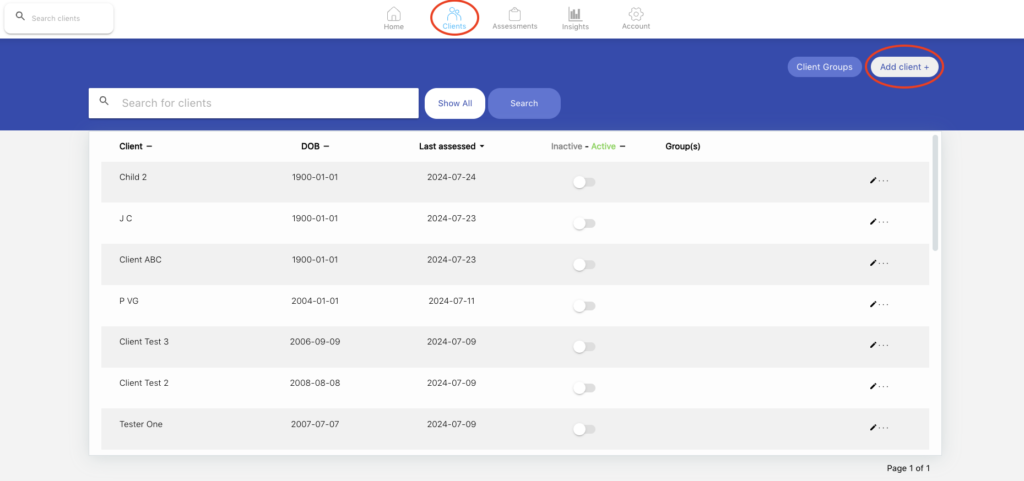





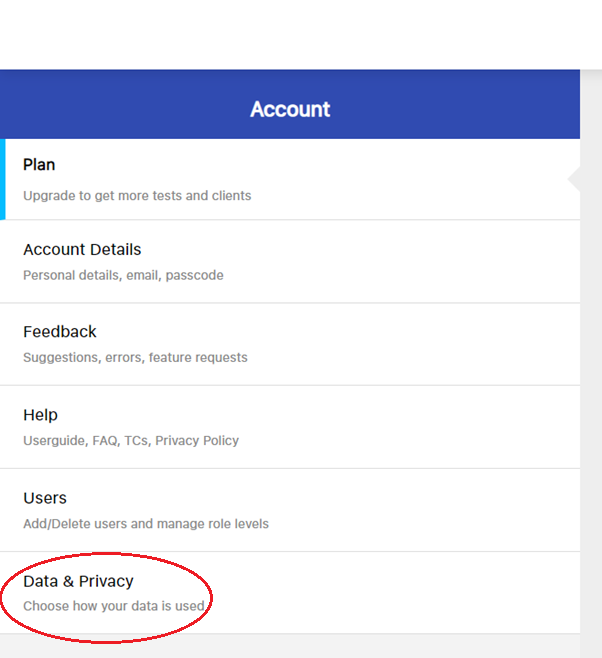
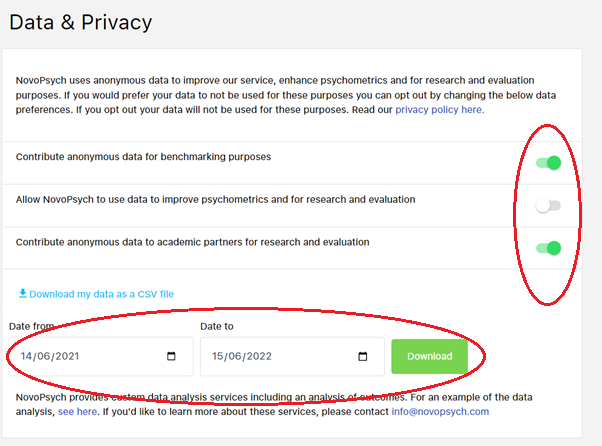
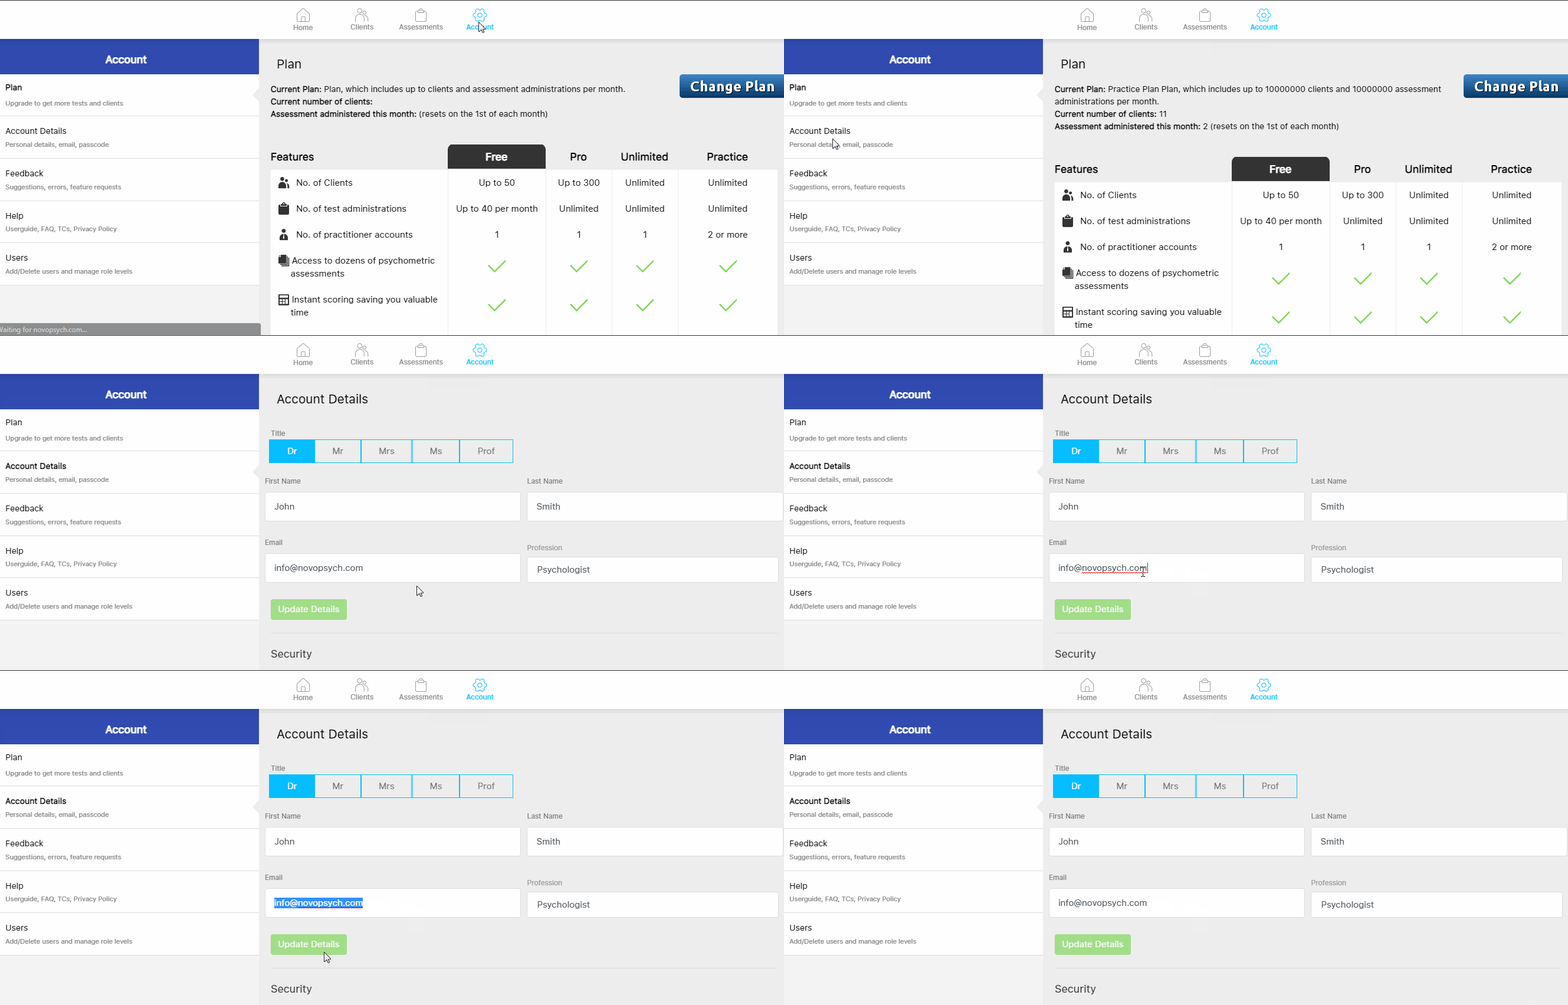
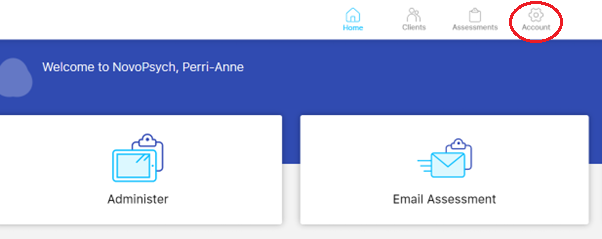 2. Go to Data & Privacy