QR codes for assessments

QR codes are a convenient way for clients to take assessments on their smartphone. This guide will show you how to setup a QR code and make suggestions about integrating a QR code into your practice’s workflow. 

QR codes are ideal for in office assessments with workflows such as:

  • A practitioner can generate a QR code during a session and display it on their computer screen, the client scans it with their smartphone and completes the assessment. 
  • A QR code is generated, printed and displayed in the waiting room, for clients to do an assessment before their session. This can be especially helpful if you’re routinely collecting outcome data. 
The basic operation of the QR code is as follows
 
  1. Practitioner generates QR code for a particular assessment
  2. Client scans it with their smartphone and completes the questionnaire
  3. Results are instantly sent to the practitioner  
QR code NovoPsych 700

Generating a QR code

Step 1 – From the home screen within NovoPsych, press “Generate  Link”. 

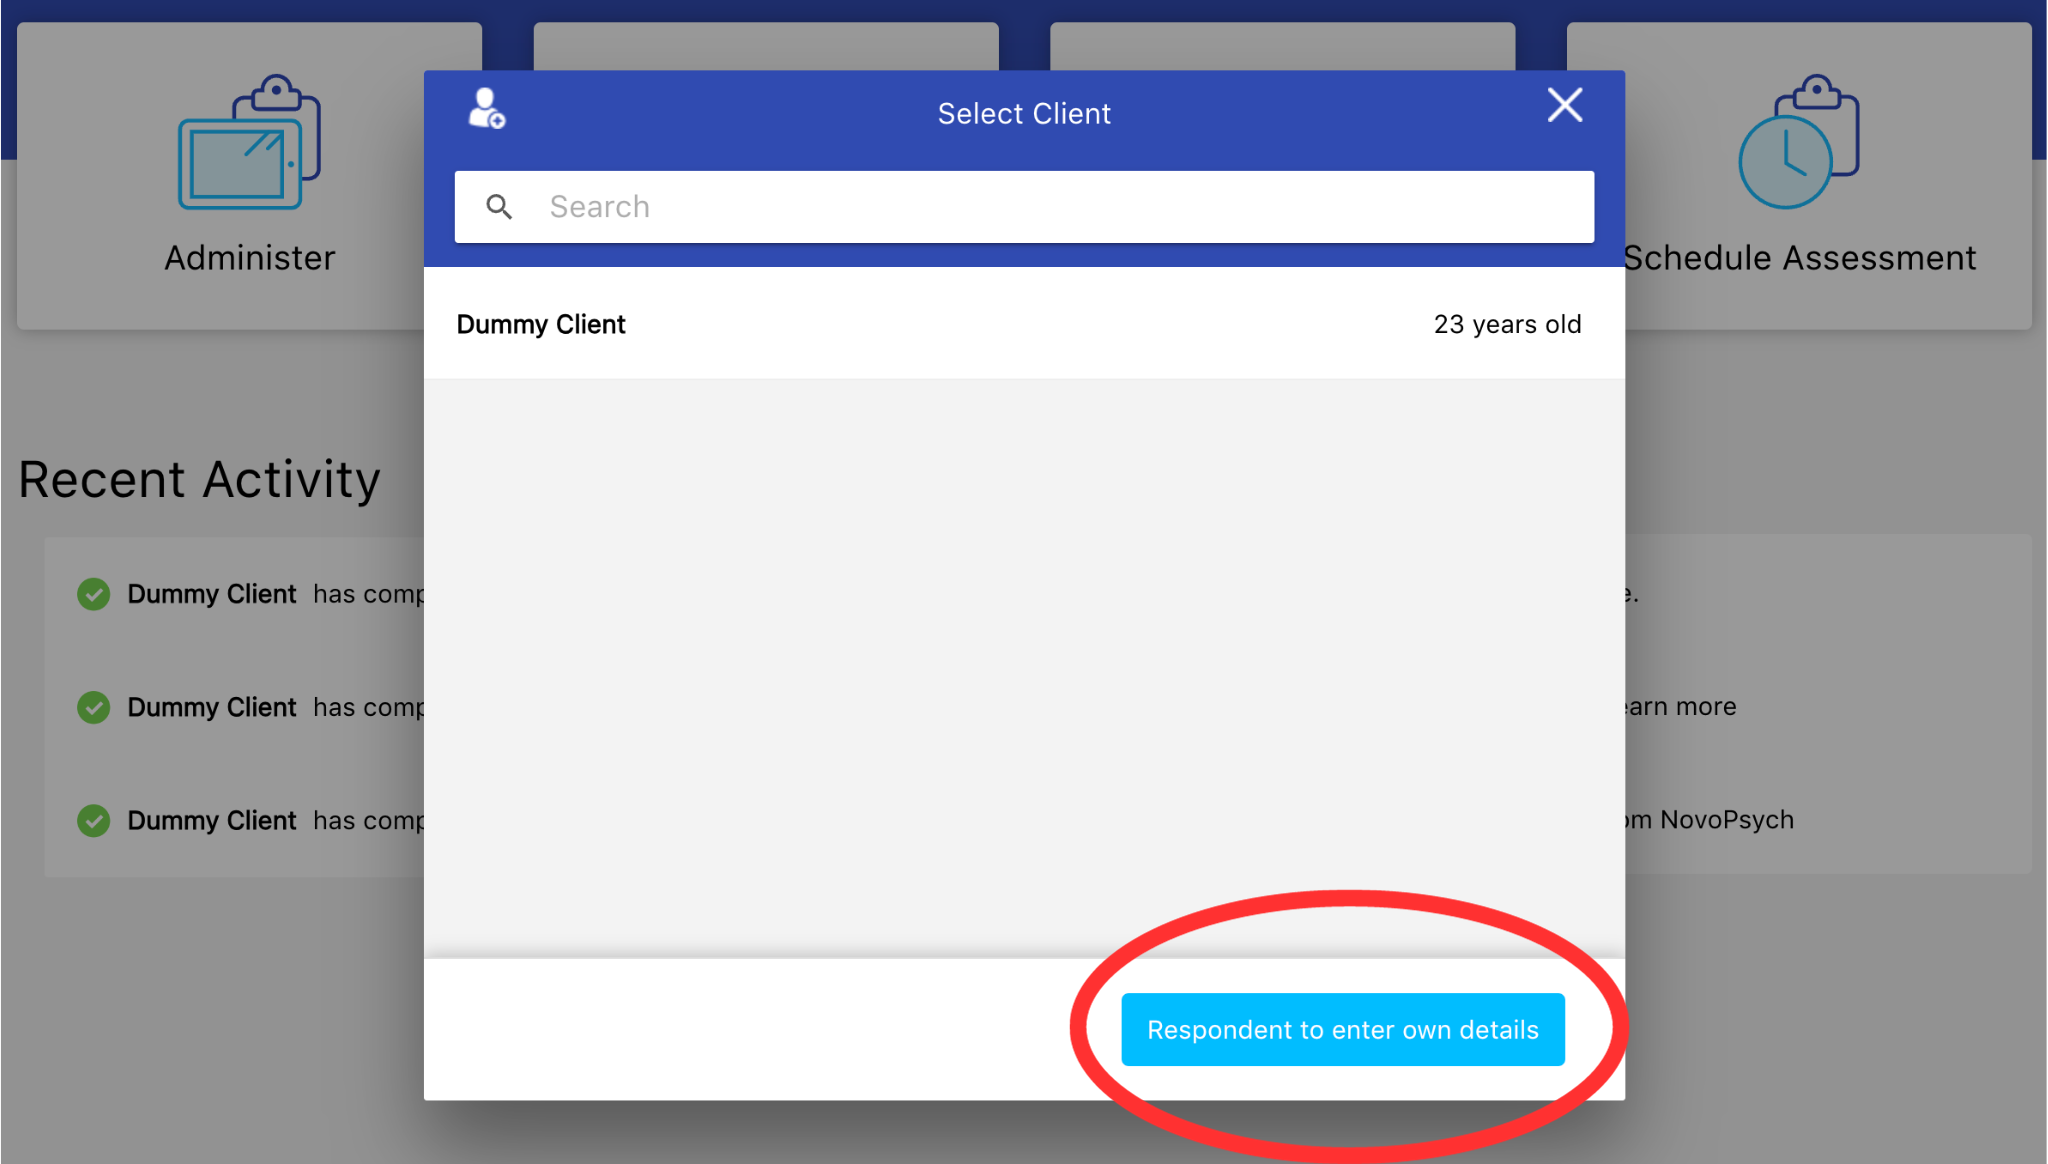
Step 2.  If the client already has a record, you can select an existing client. If they don’t have a record you can select “Respondent to enter own details”. This will ask the client to enter their own name and DOB, which creates a client record within NovoPsych (or if they already have a record with the exact same First Name, Last Name and DOB, it will add the assessment to their existing file). 

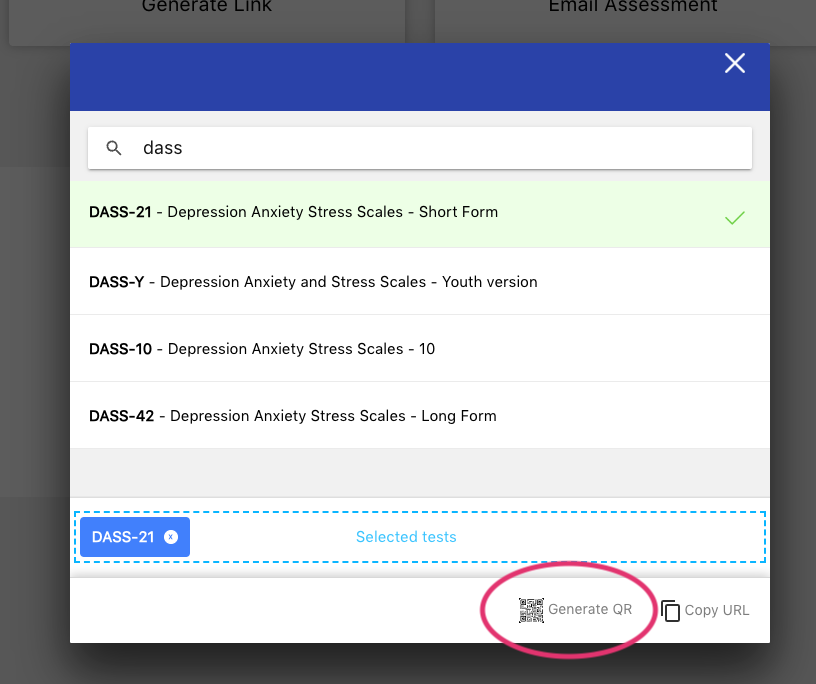
Step 3. Select the assessment(s) that you would like to administer, and then click “Generate QR”.

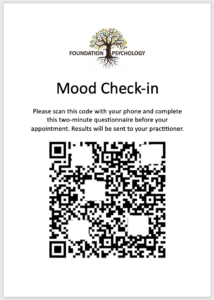
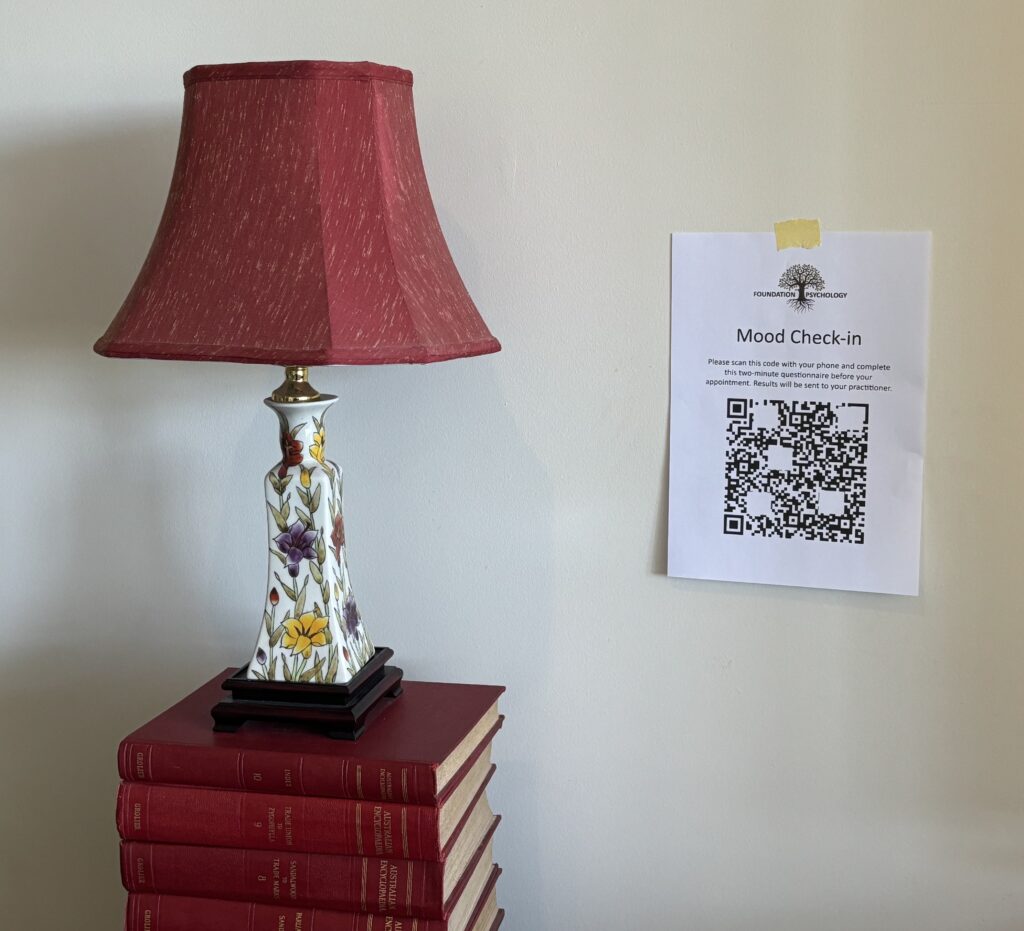
Step 4 – A large QR code will then appear on the screen that can be scanned with a smartphone’s camera.

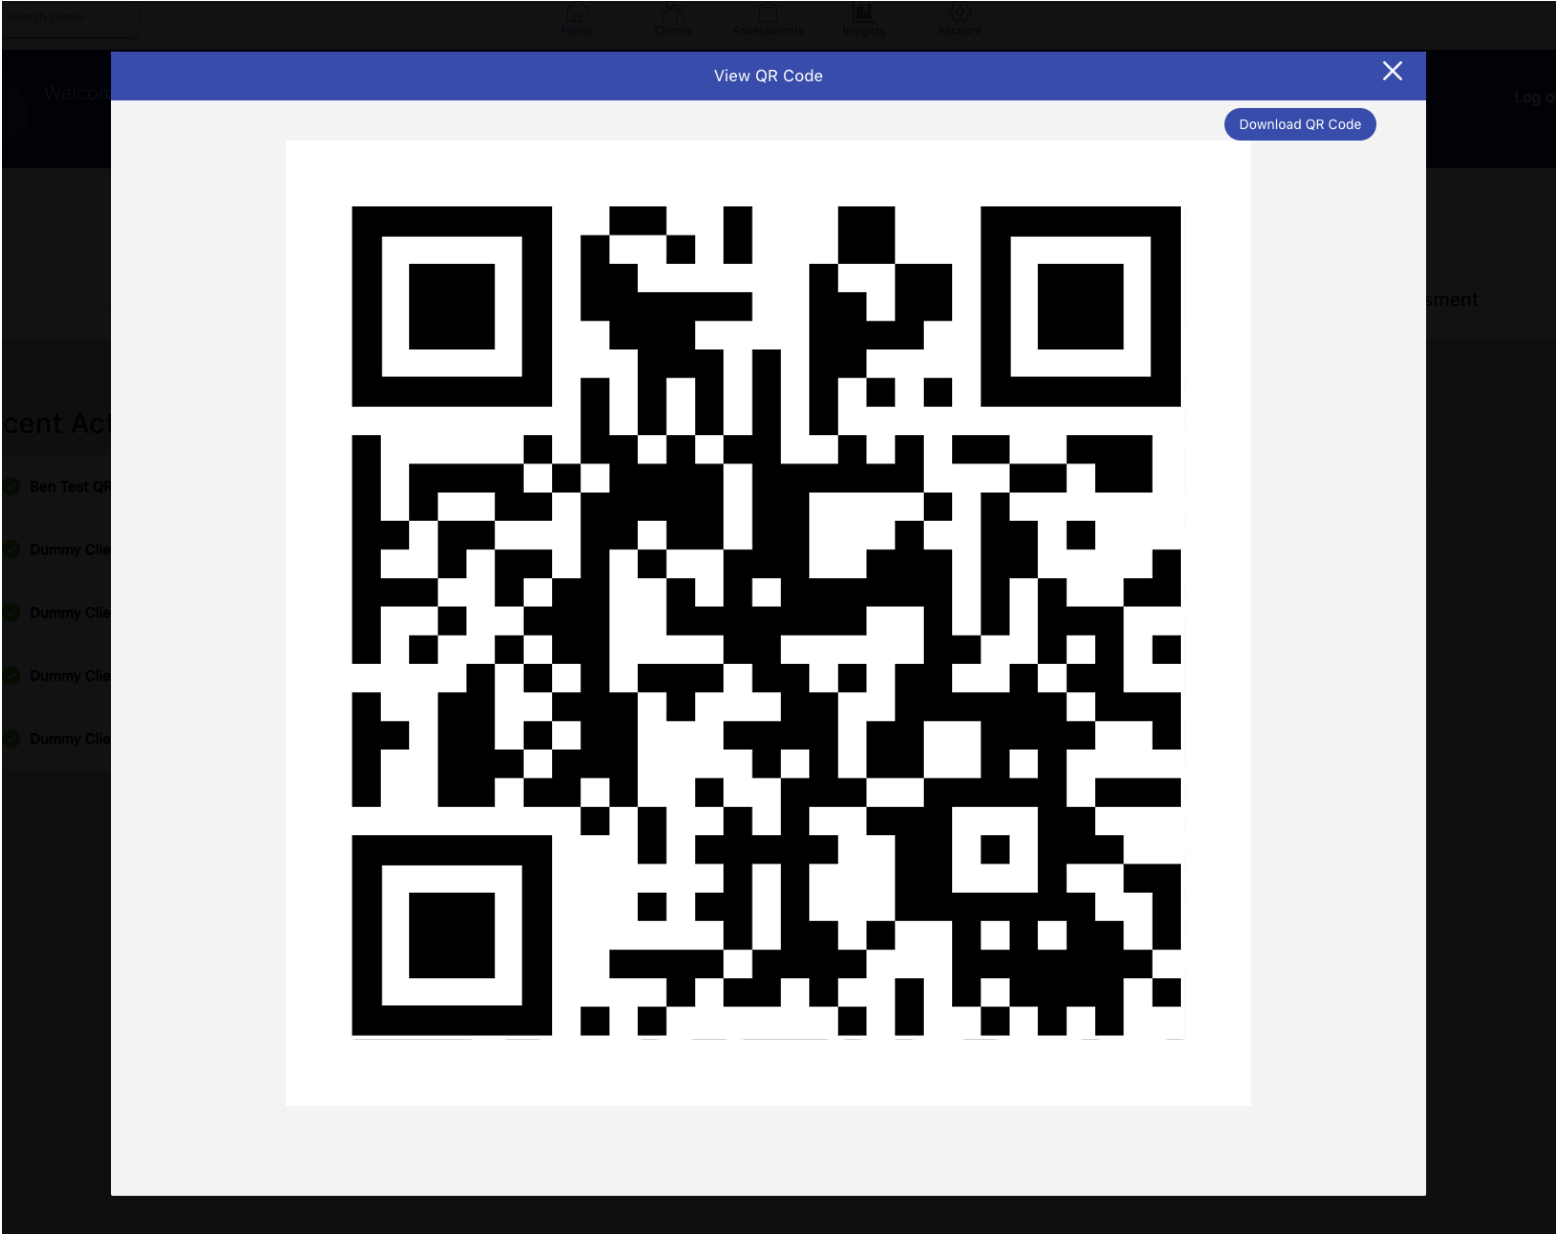
From here you have a number of options:

  • Ask the client to launch their smartphone’s camera and scan the QR code displayed on your computer screen. This will open a link to the assessment within their phone’s browser.
  • If you have an iPad or tablet, you could scan the code displayed on your computer to transfer the assessment onto the iPad. 
  • You can choose to Download QR Code, and then print the code for use in your office or elsewhere. If planning on using the QR code for multiple clients, ensure you’ve used the Client to enter own details option above. The code will work in perpetuity.  You can download the below template, insert your own QR code and logo, and display it in your office.  Download Printable Template  
Printable QR template
 

Stick on your clinic’s wall


Who has access to clients when the respondent enters their own details?

When a particular practitioner or a supervisor adds a client or creates a QR code that client is automatically assigned to them.

However, when an Account Manager creates a link or QR code and the respondent enters their own details, that client is not assigned to any user. Clients of the Account Manager who are not assigned to any user, provided that the client is active, are viewable by any user (even practitioners).  All users having access to unassigned clients is helpful in the case where, for example, an assessment link or QR code is setup by an Account Manager and the respondent enters their own details. Practitioners may require quick access to that client’s results, so allowing all users access to unassigned clients accommodates this. 

An Account Manager or Supervisor can decide to restrict access to an unassigned client by either assigning the client to a user (so only that practitioner will have access), or marking that client as inactive. Only active clients who are not assigned are accessible by all users.